


Note: not all things are photogenic in the quest for creating homes for wildlife.
We are keen on making as many safe places as possible for wildlife to shelter in our small Nature Area. A hibernaculum is a partly subterranean hideout that has easy access from the outside and which hopefully is suitable for amphibians, reptiles, and invertebrates to shelter from extremes of weather, particularly over winter.
There are many sources of information and instructions about how to build a hibernaculum (see the links below) but the same basic principles apply, and when it comes down to it, you need to use your imagination, the materials available to you, and get creative.
Once upon a time, a badger started to dig a new sett in a sunny spot among the trees on the very edge of our Nature Area – but it gave up the attempt when the going got too hard. There were a lot of tree roots and flints. We decided to use this partially excavated hole as a starting point, widening and slightly deepening it with a garden fork and spade.
The cavity was then filled with some curiously-shaped large flints, broken branches, and dry leaves, leaving spaces between objects where creatures of all kinds could settle or hide. We used several short lengths of square cross-section drain pipe for access tunnels. One opening of the pipe on a level with the ground, and the other opening-out deep in the cavity underground. We thought the flat surfaces inside the pipes would make them easier for animals to climb, and we also inserted a long stick in each pipe to aid the process.
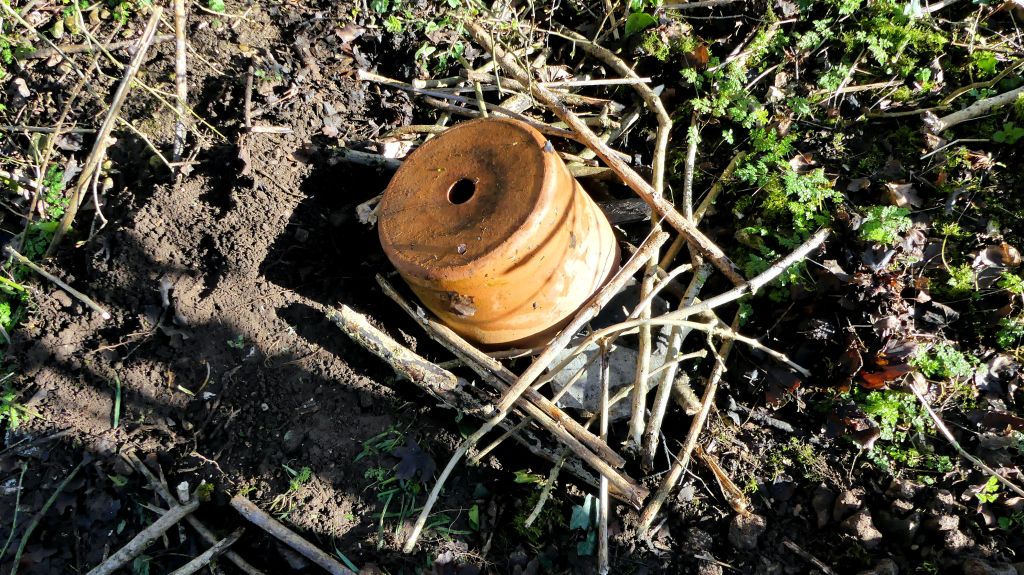
Next, we lay a latticework of sticks across the top of the space, and placed broken pieces of old slate roof tiles on top. The piece de resistance was the base of a large broken terra cotta flower pot that was inverted over the slates. All of this was ingenious but a bit unsightly and obvious.
The next step was to cover everything and camouflage the structure. We could not dig for any soil at the site but, as chance would have it, there were the remains of some old rolled turf that had disintegrated and lost shape. Sods of earth and turf from these was placed over the whole structure and patted into place. Dead leaves and moss that had been pulled up by the birds have been scattered over the top. Voila! One hibernaculum.
It is interesting to note that the hibernaculum was disturbed almost immediately. I thought maybe a wild animal had been interested in the many earthworms in the covering soil, but equally it could have been some curious visitor.
It will be difficult to determine how successful the hibernaculum is because we will not open it again. But I for one will be looking for signs of occupation and keeping my fingers crossed that it will encourage the survival of all sorts of creatures.
Useful Links
https://www.wiltshirewildlife.org/hibernaculum
https://www.naturalexplorer.co.uk/articles/creating-reptileamphibian-hibernacula-and-refuges/
Discover more from Charlton Down Nature Area
Subscribe to get the latest posts sent to your email.

Great upcycling of a large broken terracotta flowerpot. 😄 I’m quite sure your hibernaculum will be readily accepted. 🤞🤠
LikeLiked by 1 person